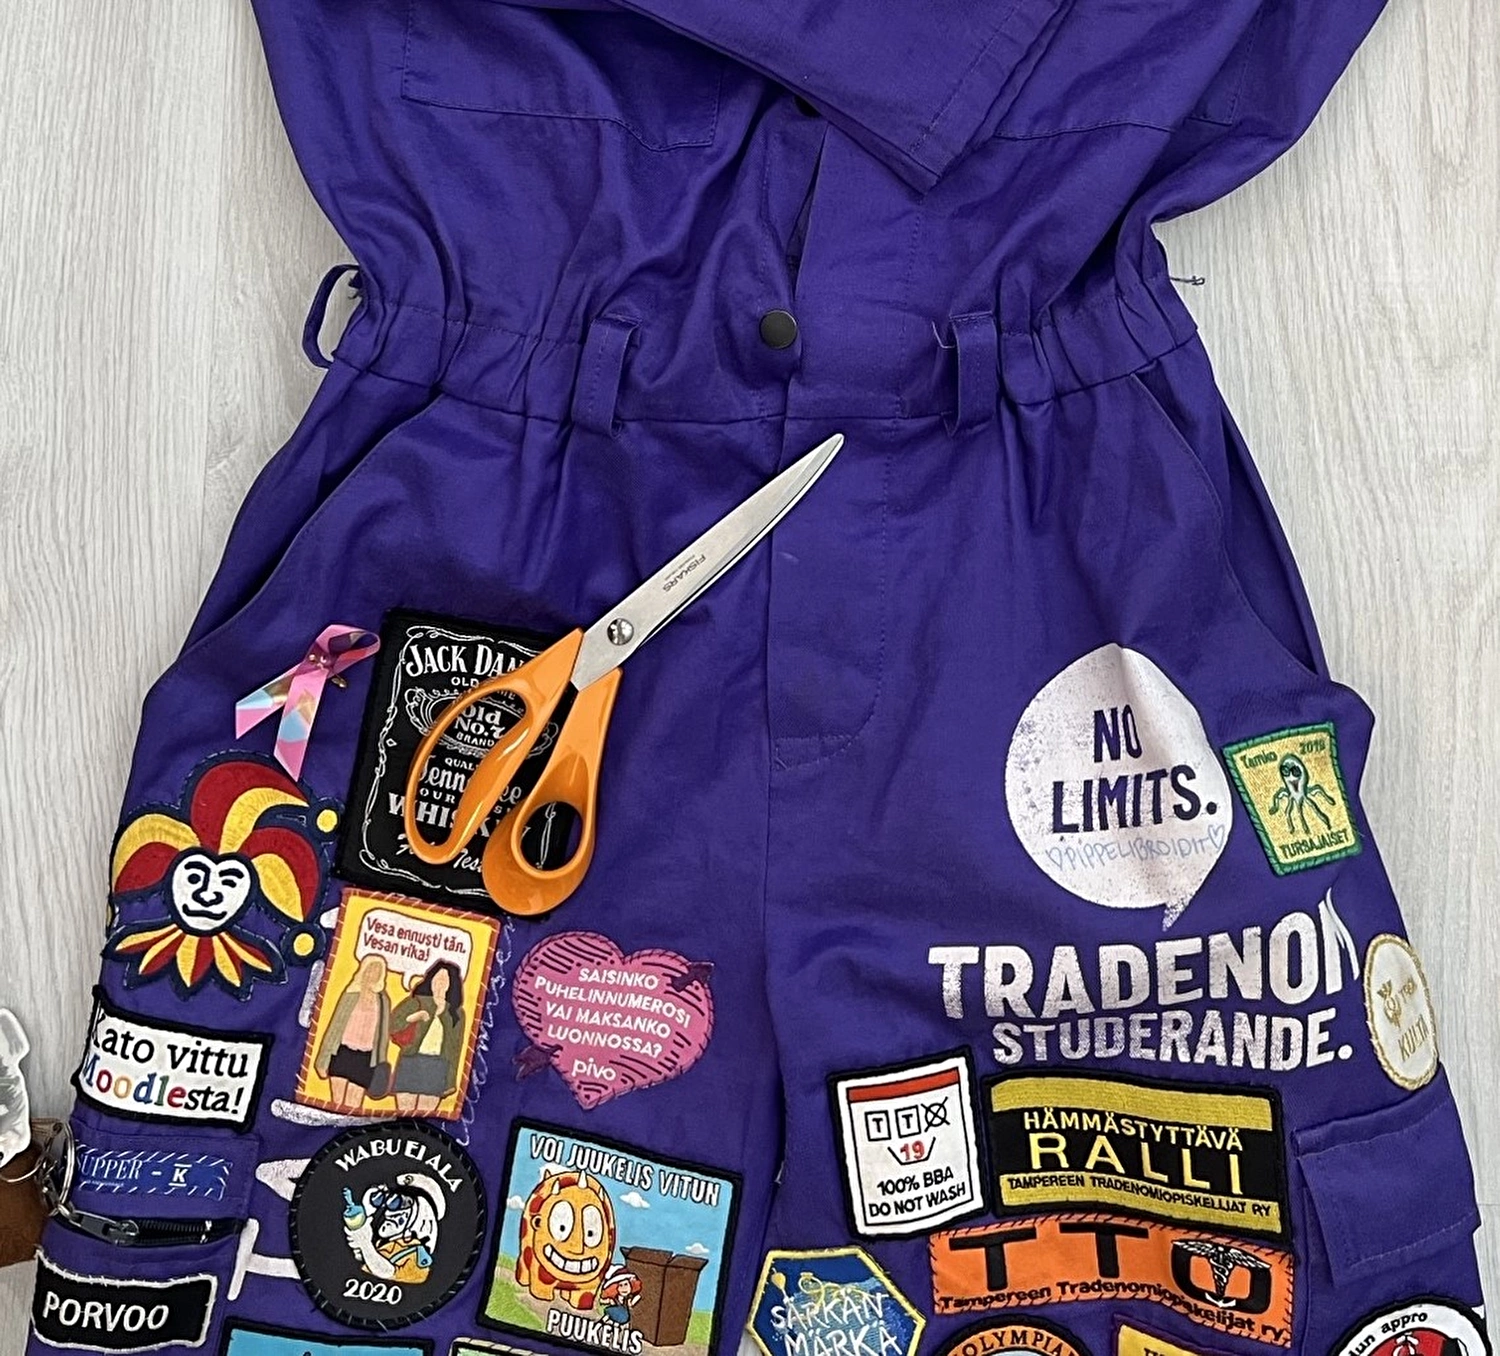
Vappu jacket from old overalls
A couple of years ago, I saw a video on TikTok about overalls being turned into a jacket and decided to give it a try. I wondered why I would leave my old overalls at the bottom of the closet when they would make a neat annual Vappu accessory.
First, I removed the old belt loops from the overalls to make them easier to cut and sew neatly.
Once the loops were removed, I cut off the bottom of the overalls from the top, leaving about 3 cm of folding allowance at the bottom. Try to cut as evenly as possible to make it easier to fold the edge. Finally, I took off the old elastic band of the overalls from the waist to make sewing easier and neater.

I folded the bottom edge of the pleat in half and put it in place with pins. Be careful of the belt loops when sewing. I folded the edge as closely as possible to the old seam to keep the bottom edge straight. Once the bottom edge was sewn, I finished it off by stitching the belt loops in place with a sewing machine. This can also be done by hand.
At this point the jacket is finished in its simplest form. Now you can add your badges to the sleeves, the front of the jacket and on the back around the logo.
However, I wanted to try making sleeves out of the old legs, as I have accumulated a lot of badges over the years and it would have been a hassle to remove and sew them all back on.
I turned the old legs over and measured the width of the top edge to match the sleeves, to make the seam as neat as possible, and put a pin to mark it. I ripped off the old sleeves (you can also cut them if you want to get away with it) and used them as a pattern.
My legs were about 8 cm wider than the sleeves and I narrowed the legs a little further under the armpit. I always used pins for placement and made sure the widths met. When I was pleased I sewed the legs to the upper body.
As the legs were much longer than the original sleeves I shortened them to a suitable length. I left enough room when cutting the legs to make a pleat at the wrist. I zig zag stitched the edge of the fabric to prevent unraveling and then turned the sleeve in two. You can also make the resor by first turning about 1.5 cm of fabric and then folding in the desired elastic band spacing. I left a wide enough gap at the bottom of the sleeve to accommodate a thicker elastic band. You can adjust the width of the fold to suit the elastic of your choice. I sewed the folds and left a gap for the pleating, about 4cm wide. I cut the elastic band to the length I wanted and sewed the ends of the band together.
And lo and behold, the jacket is finished! I filled in the front and back of the jacket with leftover badges, which give a nice shape and rigidity to the top. And, when I made the legs into sleeves I also made use of the pockets. Nice little extra :).

